I’m on a mission to slowly update the pillows in our living room. A few are a good 7 years old. They’ve had a good run, but new ones are way over-due. I’ve also been wanting to try my hand at embroidering some pillows. The plan: mix new, large pillows wth bold colors and patterns with smaller embroidered throw pillows.
I’ve just finished my first pillow. It ended up being a more ambitious project than anticipated. After a month of squeezing in embroidery time whenever I could it’s finally finished.

The pillow case is canvas. Target is now selling blank canvas throw pillows meant to be decorated. The filling was a bit thin, so I just bought a same-sized pillow form from Joann’s and swapped them out. I just recently saw they’re even selling in different sizes now.
Step 1. Get your shape
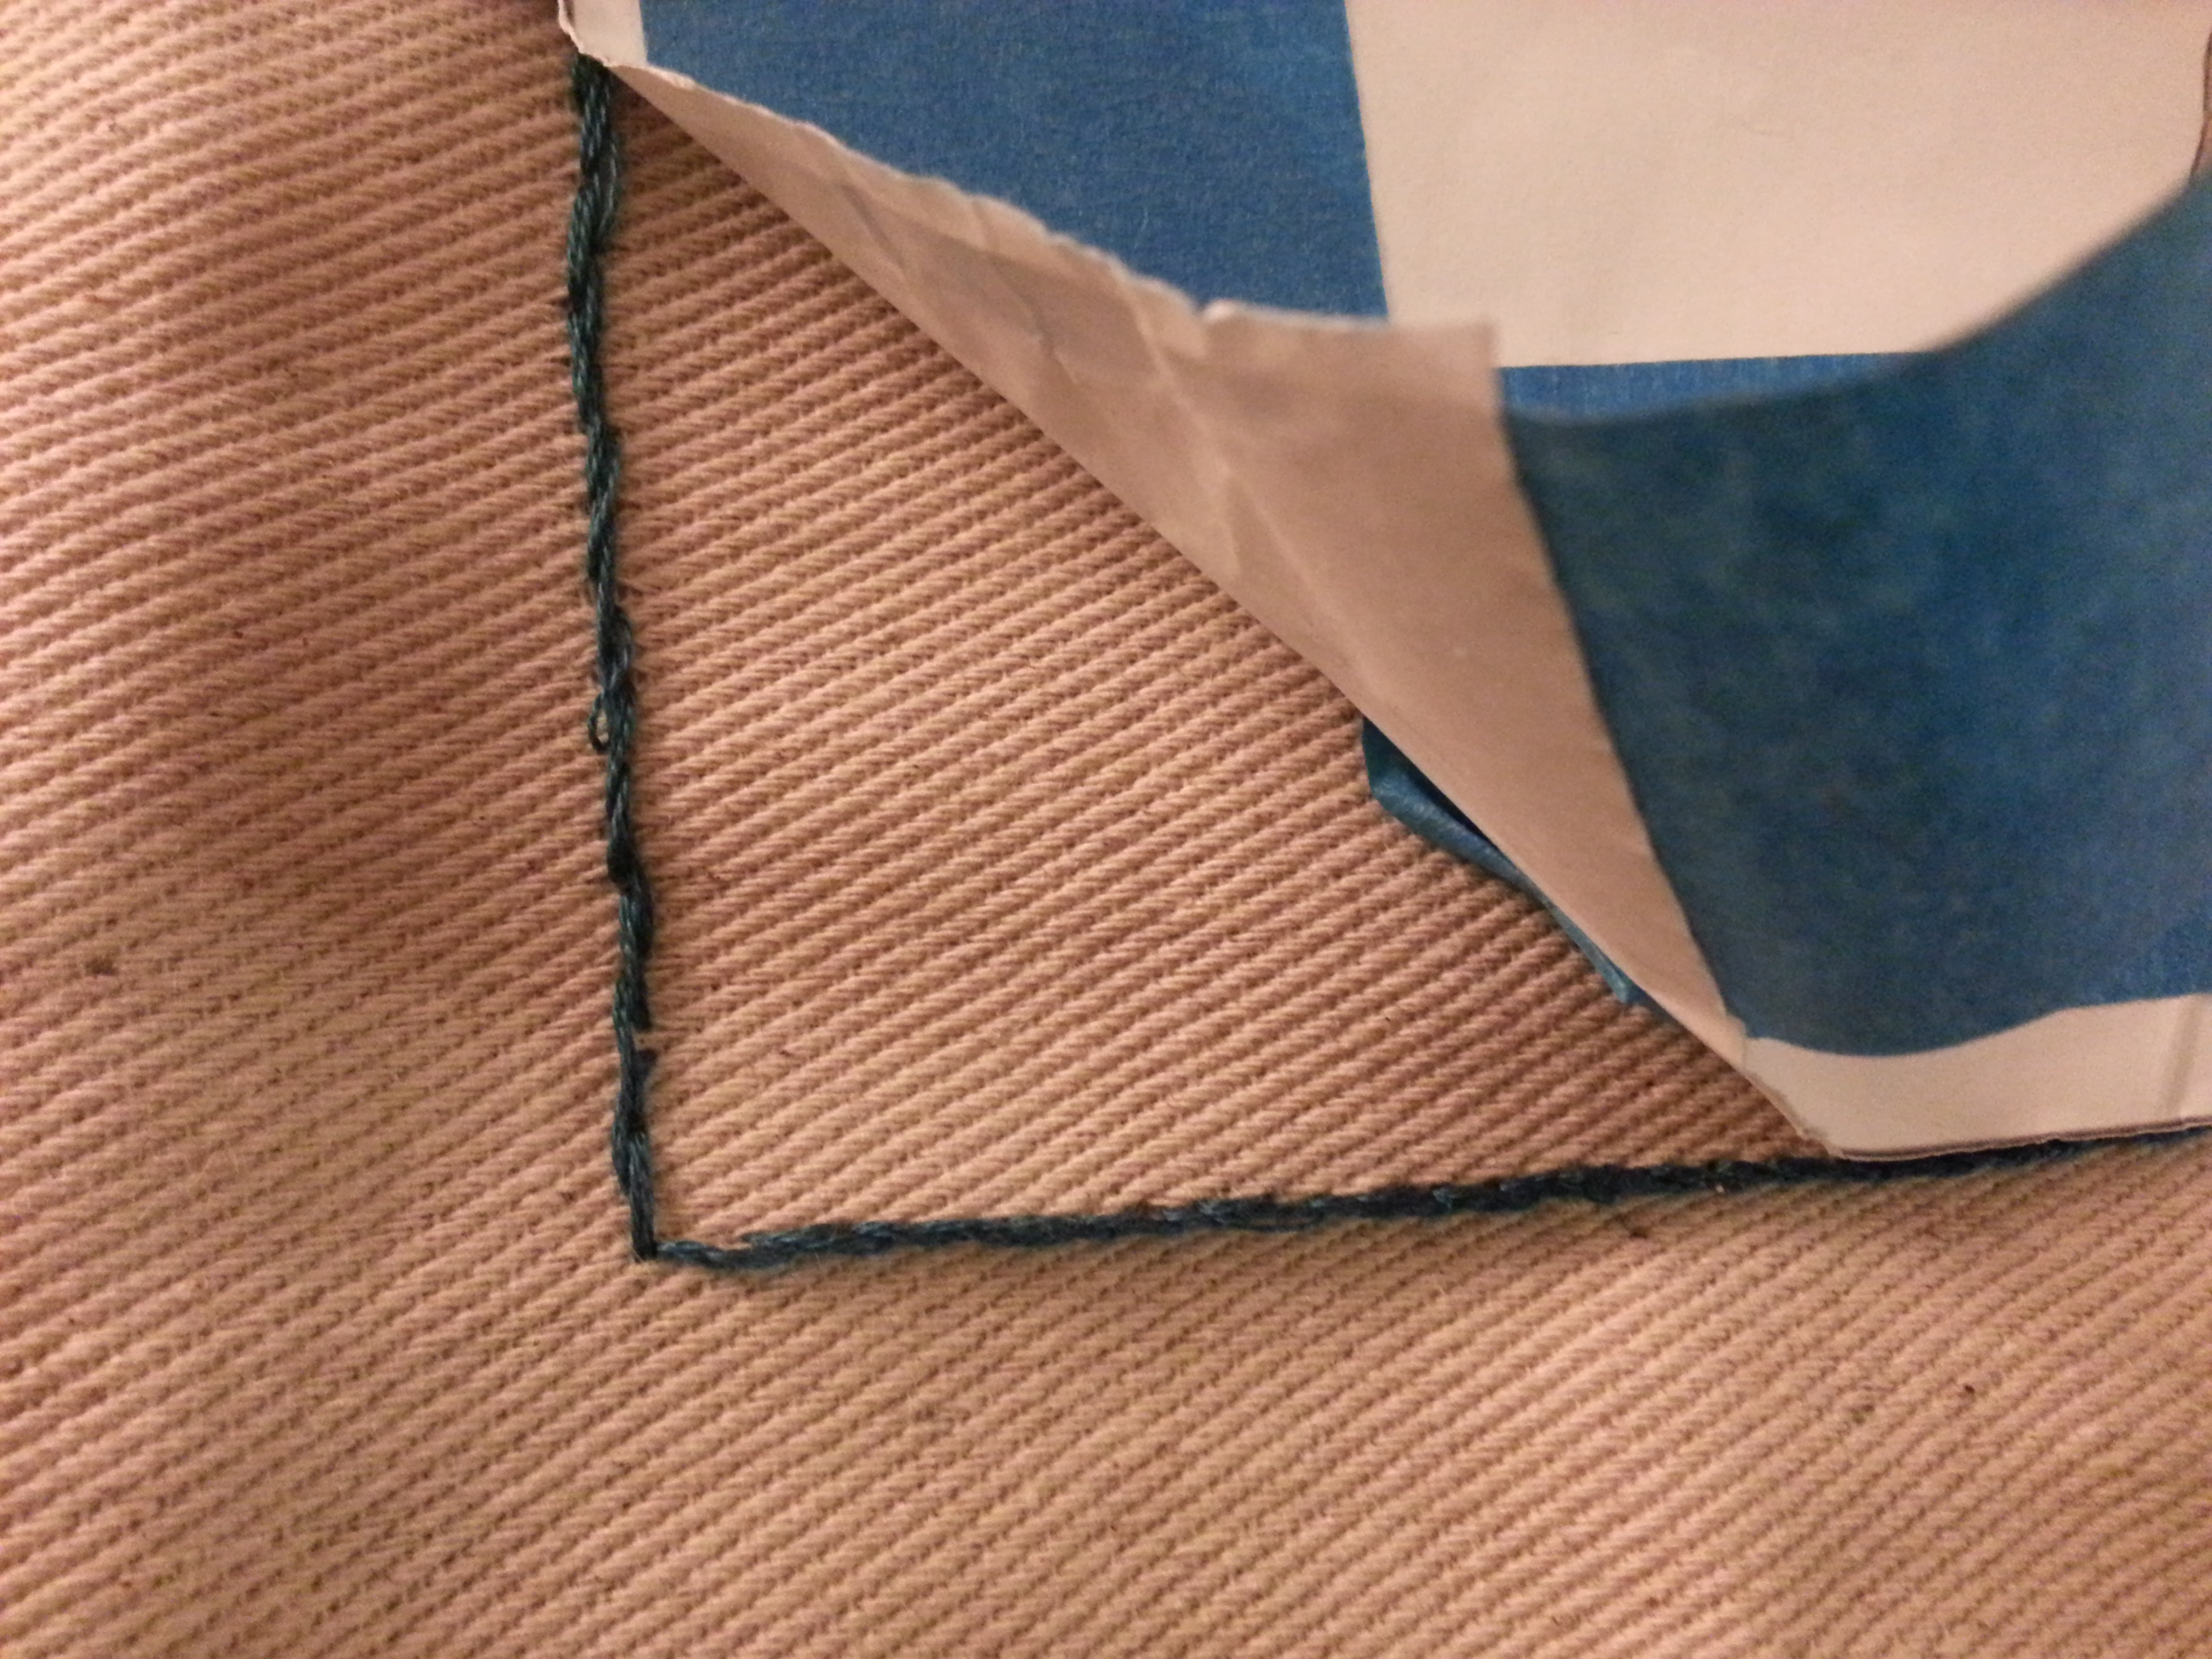
I chose my home-state of Minnesota. I found an outline in Google images and enlarged it appropriately. Then printed and used painters’ tape to attach it to my pillow. What you can’t see in the photo below is there is also tape underneath the shape.

Step 2: Embroider your outline
I decided to practice my stem stitch. My basic stitches still need a lot of work, so the practice was good. Don’t worry though, it’s simple once you get the hang of it. There are a lot of tutorials online, but I personally like my copy of Reader’s Digest “Complete Gudie to Needlework”. I picked it up at a used bookstore for $10, and I know there are cheaper copies out there.

I stitched around my paper shape, pulling back and removing tape when necessary. The painters’ tape is gentle enough to not pull up the fibers of the canvas.

Step 3: Fill in your shape!
This is what took ages. The stem stitch is one line at a time and I chose a large shape that may have been a bit ambitous. I wanted the feel of the colors to be a bit random. I grabbed all my DMDC colors that seemed like they’d be good for the color scheme I was going for and tossed them all in a ziploc bag. When I needed a new color I pulled it out of the bag at random. For the width of the lines, how much I happened to cut is what dictated how wide I made the line. Believe me, for someone as much of a control-freak-perfectional as I am, there was a lot of self control used!


If you’re able to use a hoop, I’d advise it. With the enveloped backed small-ish pillowcase the hoop was really tricky, so I made sure I was constantly pulling the fabric to keep puckering to a minimum. You can definitely see it when the case doesn’t have the pillow form.

Step 5: Feel accomplished
Luckily, the pillow form stretches the fabric also. So if you do pucker a bit, don’t worry. It’ll look smoother once you’ve added the pillow.

For a first go at it, I think it turned out quite nice. My next pillow is still in the planning stages, but I know it’ll be a bit less stitch intensive.


I have/had that book, it’s an excellent resource! Can’t wait to see your next pillow,
LikeLike